ตัวอย่างของแถมในคลาส
แจก Model ที่สามารถดึงแฟมิลี่ การตั้งค่าต่างๆ ไปใช้ในงานจริง
ของนักเรียนได้
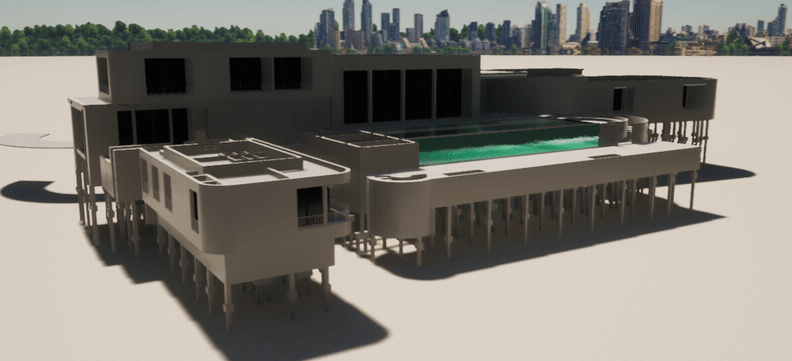
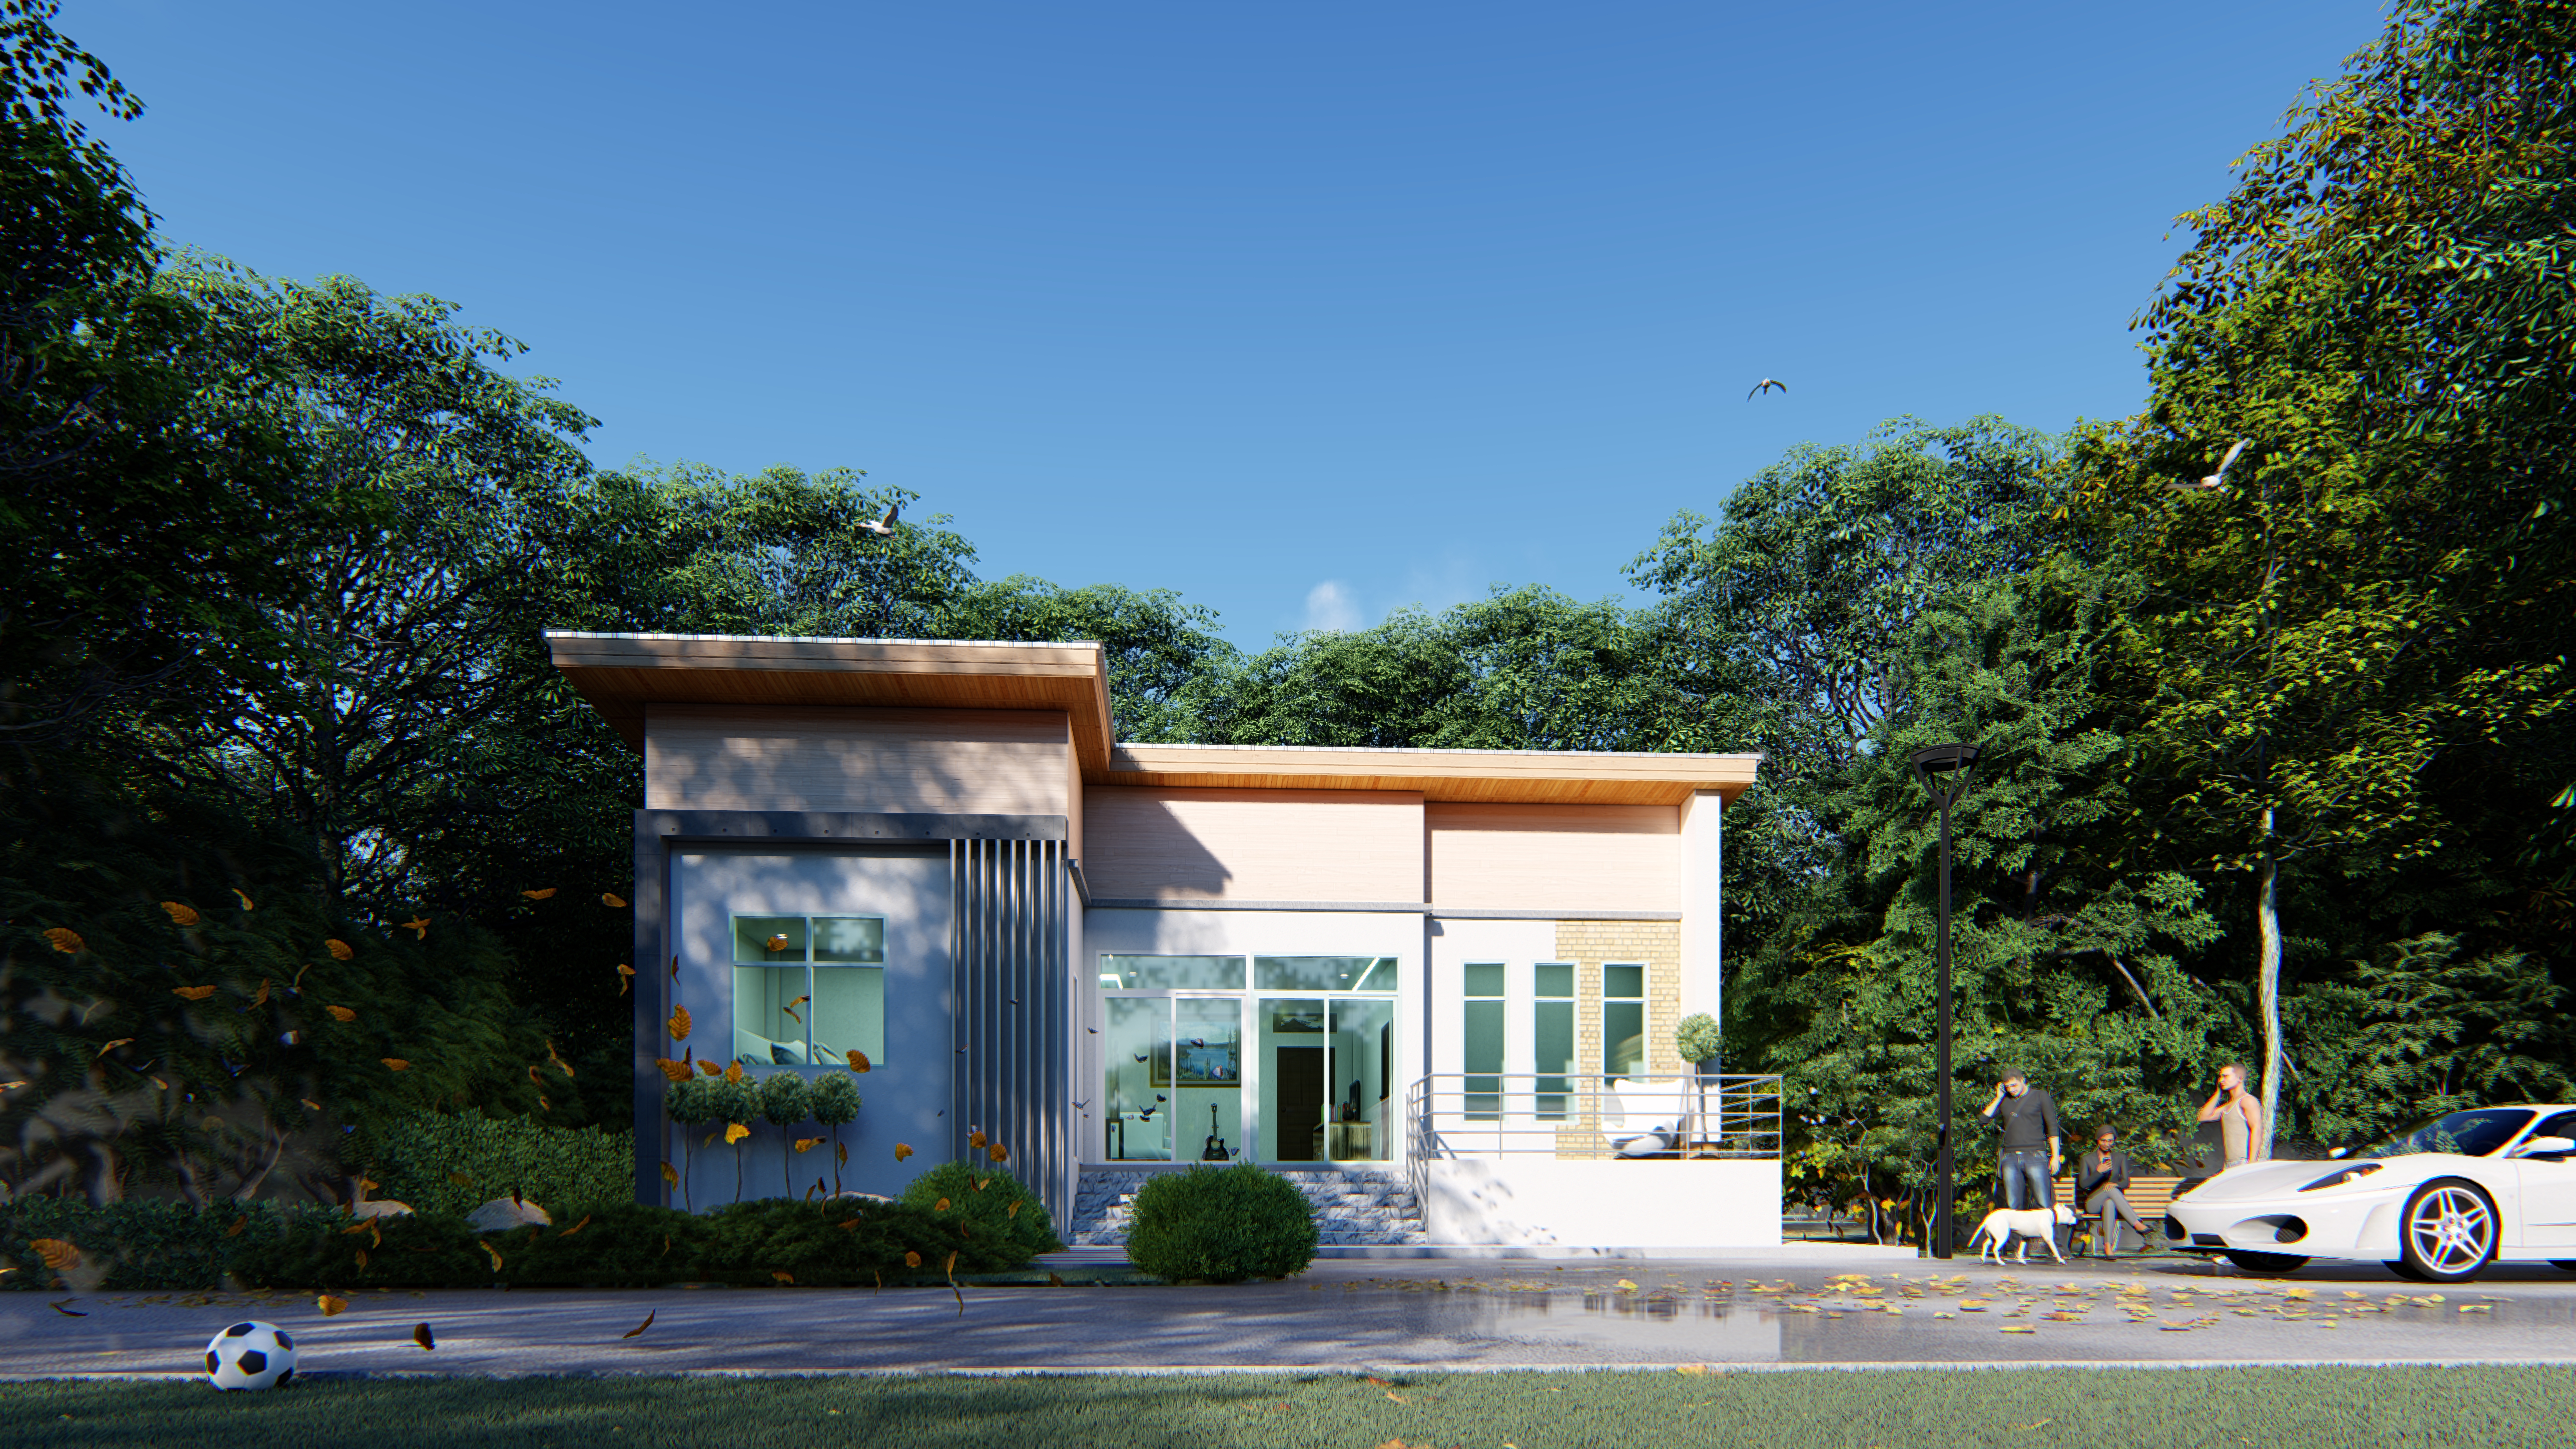
ตัวอย่างของแถมในคลาส
แจก Model ที่สามารถดึงแฟมิลี่ การตั้งค่าต่างๆ ไปใช้ในงานจริง
ของนักเรียนได้
แนะนำเทคโนโลยีที่เกี่ยวข้องกับ BIM
แจก Model ที่สามารถดึงแฟมิลี่ การตั้งค่าต่างๆ ไปใช้ในงานจริง
ของนักเรียนได้
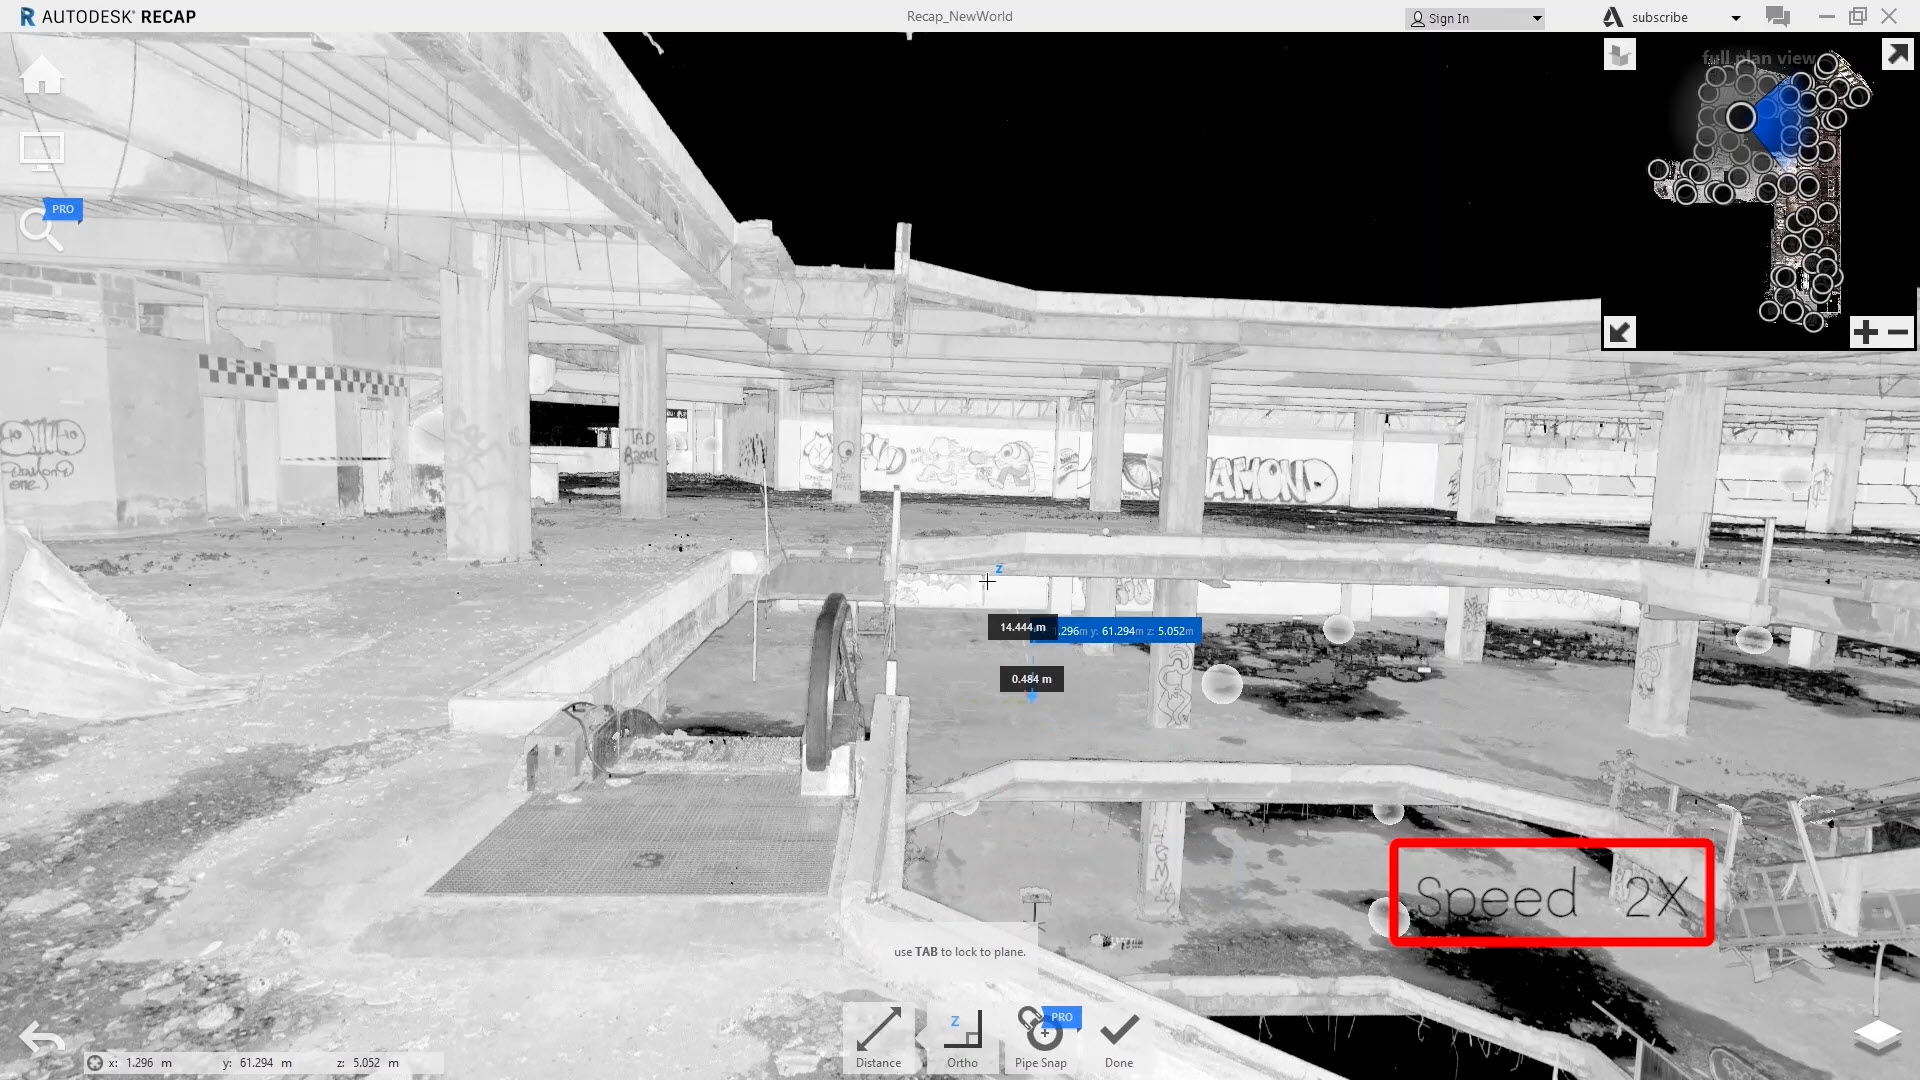
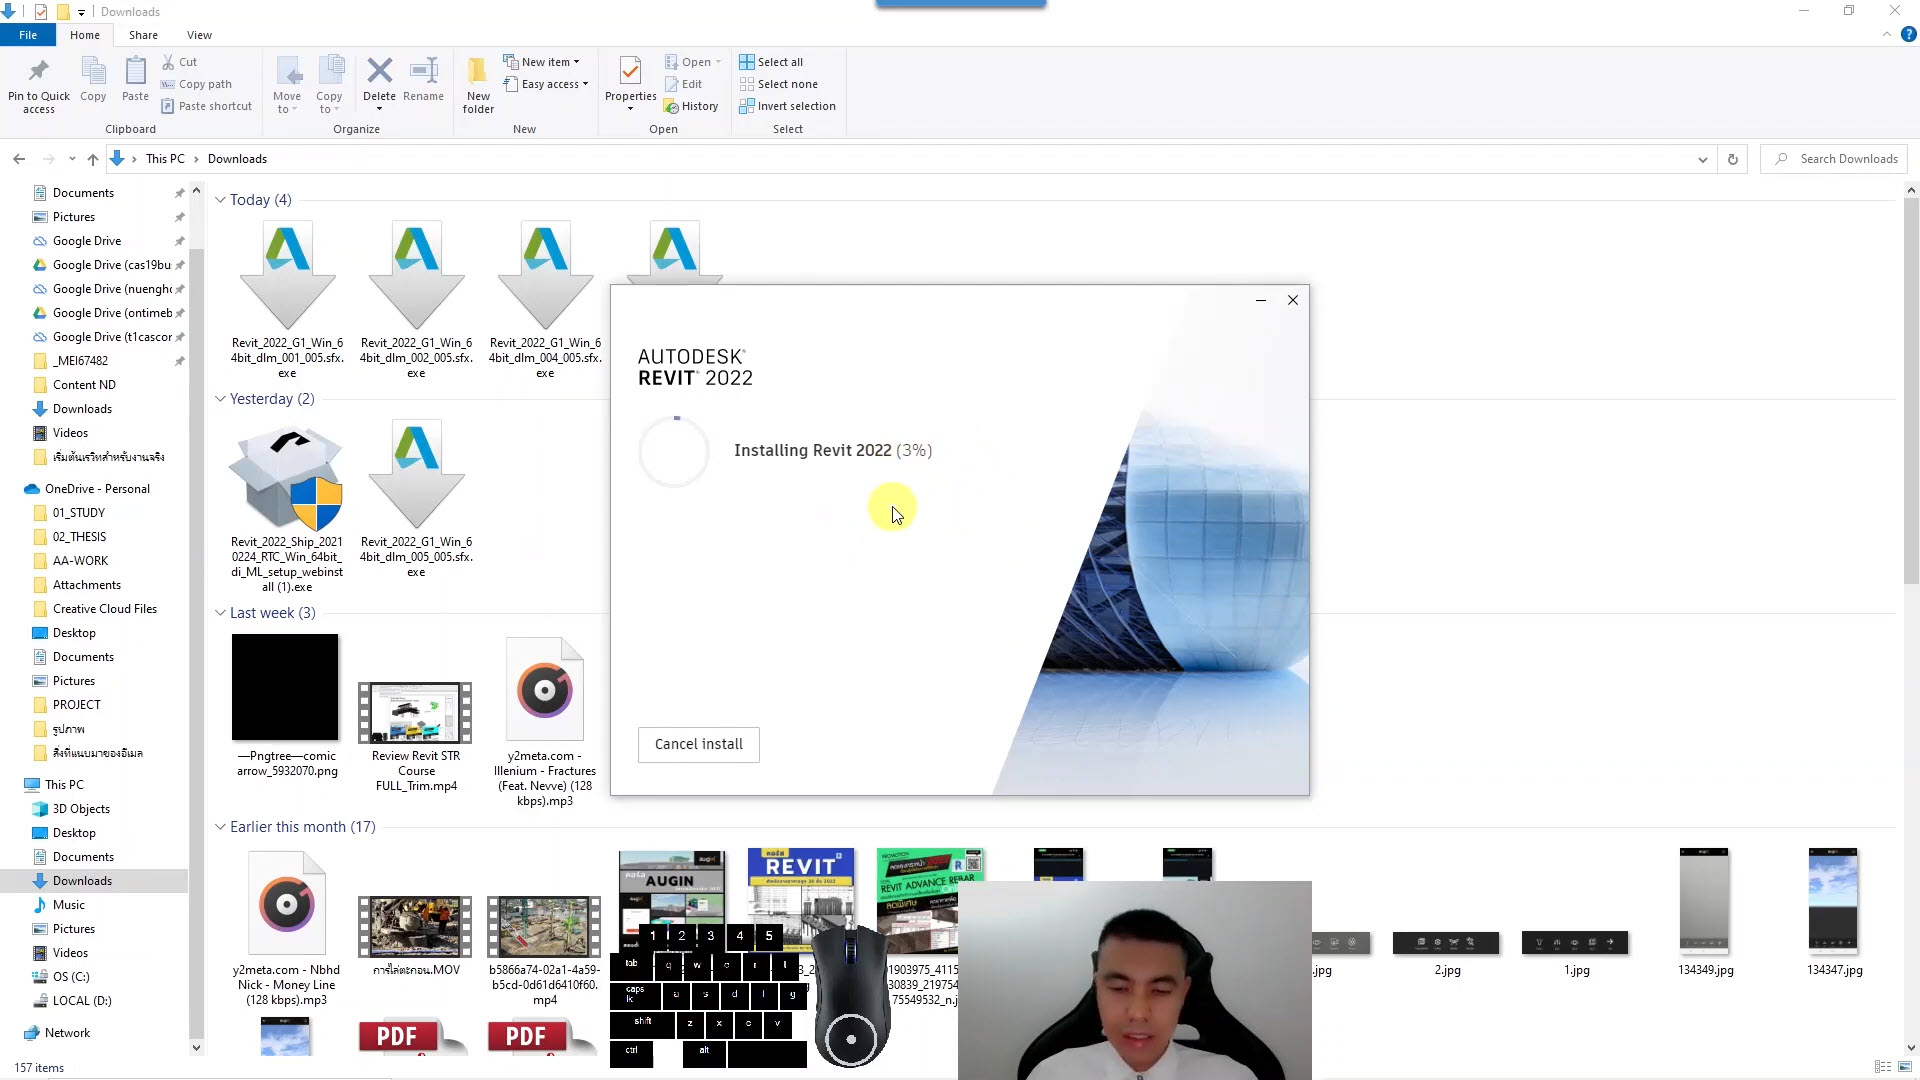
สอนการสมัครและติดตั้งโปรแกรม
แจก Model ที่สามารถดึงแฟมิลี่ การตั้งค่าต่างๆ ไปใช้ในงานจริง
ของนักเรียนได้
สอนการจัดทำแบบ
แจก Model ที่สามารถดึงแฟมิลี่ การตั้งค่าต่างๆ ไปใช้ในงานจริง
ของนักเรียนได้
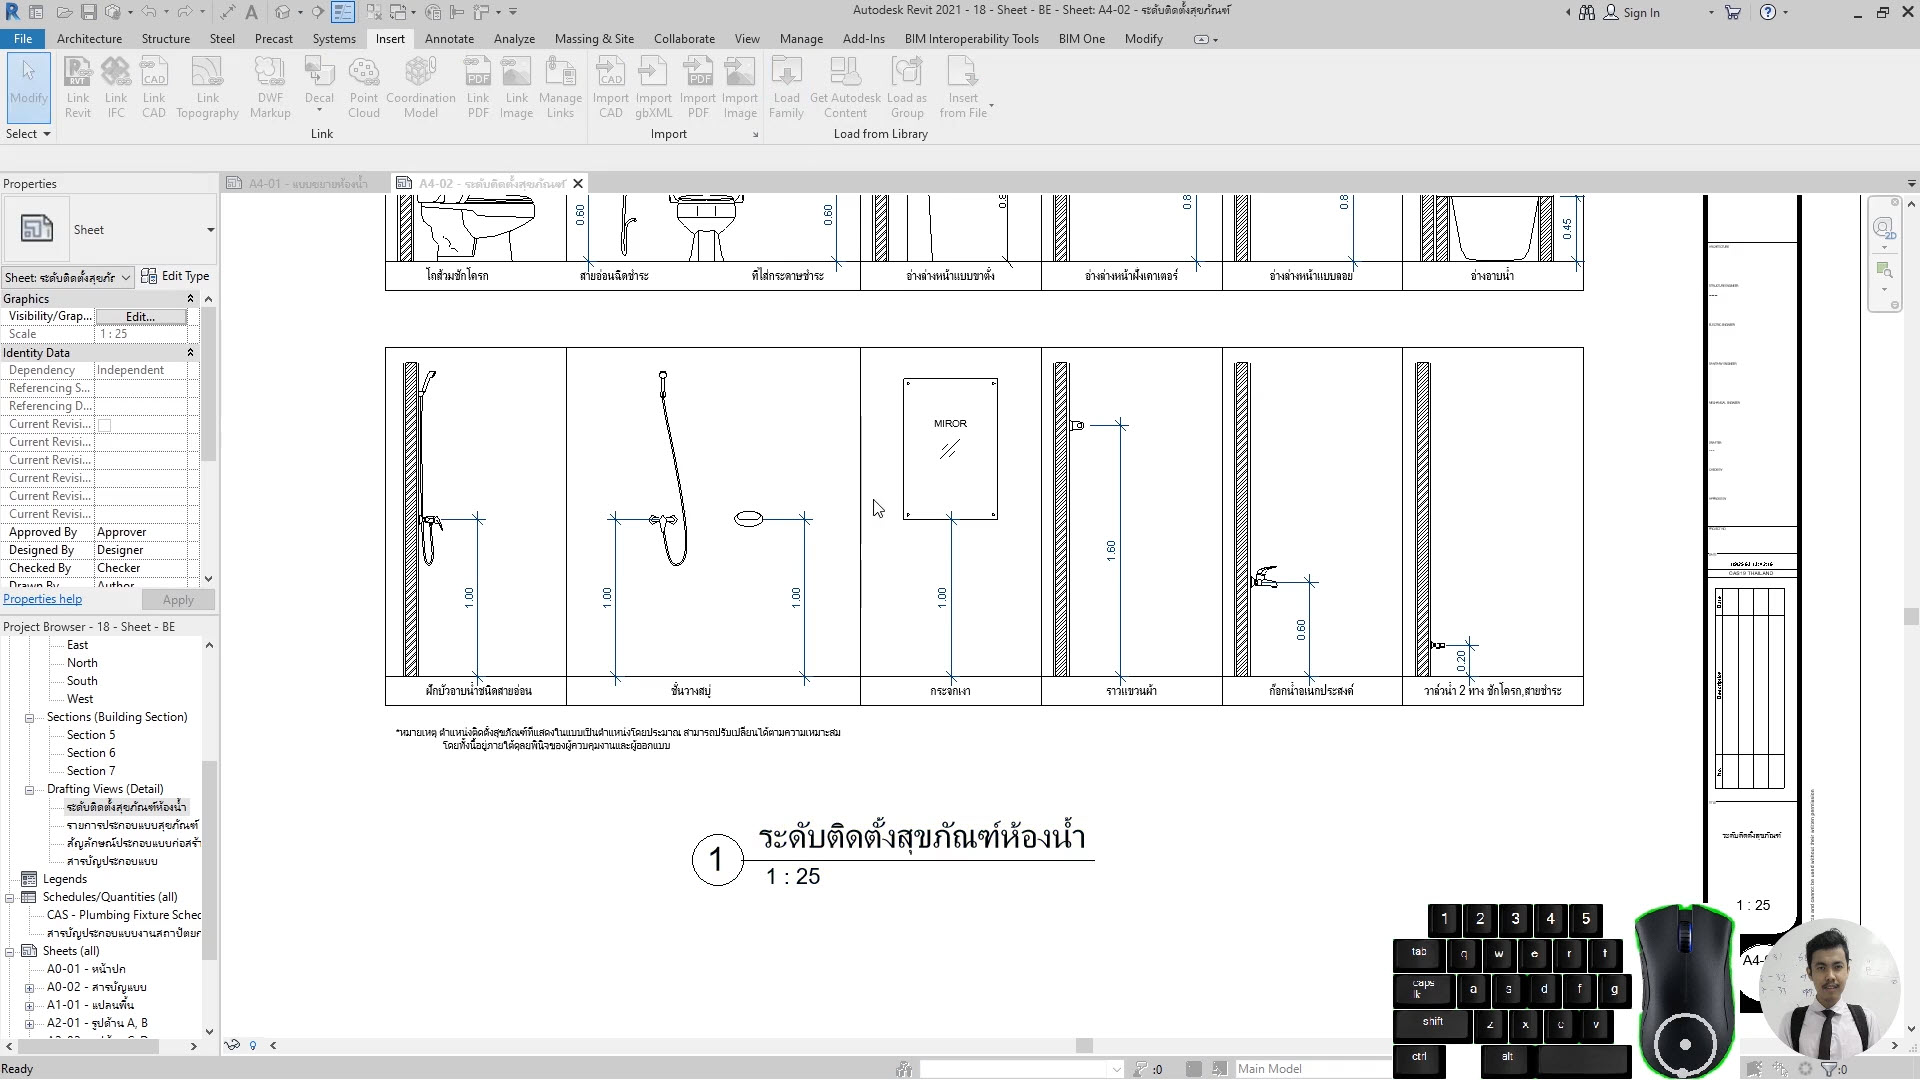
คลาสฯแนะนำสำหรับผู้ที่สนใจเพิ่มความเป็นเป็นมืออาชีพมากยิ่งขึ้น
ตัวอย่างบทเรียน
- Workflow ในการทำงานระบบ BIM ด้วยเรวิท (2:20)
- บทที่ 1 แนะนำโปรแกรม (3:24)
- บทที่ 2 - การตั้งค่าเบื้องต้น (5:35)
- บทที่ 3 - การใช้คำสั่งพื้นฐาน (4:40)
- บทที่ 4 - การสร้างกริดและระดับ (3:25)
- บทที่ 5 - การโมเดลโครงสร้างเสา (2:17)
- บทที่ 6 - การโมเดลโครงสร้างคาน (3:38)
- บทที่ 7 - การโมเดลโครงสร้างพื้น (2:22)
- บทที่ 8 - การออกแบบพื้น (18:09)
- บทที่ 9 - การออกแบบคาน (23:13)
- บทที่ 10 - การออกแบบเสา (8:26)
- บทที่ 11 - การถอดปริมาณวัสดุด้วย COST ESTIMATION (2:37)
- BONUS1 - การสร้างหน้าตัดเหล็ก (10:23)
- บทที่ 1 - แนะนำโปรแกรม (3:45)
- บทที่ 2 - การตั้งค่าเบื้องต้น (5:47)
- บทที่ 3 - การใช้คำสั่งพื้นฐาน (4:49)
- บทที่ 4 - การสร้างกริดและระดับ (7:47)
- บทที่ 5 - การโมเดลโครงสร้างเสา (5:56)
- บทที่ 6 - การโมเดลโครงสร้างคาน (4:33)
- บทที่ 7 - การโมเดลโครงสร้างบันได (5:09)
- บทที่ 8 - การโมเดลโครงสร้างโครงหลังคา (14:44)
- บทที่ 9 - การออกแบบคาน (22:28)
- บทที่ 10 - การออกแบบเสา (2:55)
- บทที่ 11 - การดูผล (6:06)
- บทที่ 12 - การสร้างรายการคำนวณ (13:51)
- บทที่ 13 - การถอดปริมาณวัสดุด้วย COST ESTIMATION (4:01)
- BONUS1 - การสร้างหน้าตัดเหล็ก (10:23)
- 01 - แนะนำโปรแกรม (6:01)
- 02 - การสมัคร Account และการติดตั้งโปรแกรม (9:43)
- 03 - การตั้งค่าหน่วย (2:41)
- 04 - การสร้างกริดไลน์ (5:19)
- 05 - การสร้างระดับ (5:28)
- 06 - การ Link ไฟล์สถาปัตย์เข้ามา (3:32)
- 07 - การสร้างฐานราก (6:37)
- 08 - การสร้างเสา (6:25)
- 09 - การสร้างคาน (12:30)
- 10 - การสร้างพื้น (13:22)
- 11 - การสร้างบันได (2:40)
- 12 - การสร้างแป (6:07)
- 13 - การสร้างจันทัน (3:47)
- 14 - การสร้างอะเส (7:25)
- 15 - การสร้างดั้ง (26:13)
- 16 - การเก็บรายละเอียดโครงสร้างหลังคา (16:40)
- 17 - การเขียนโมเดลเหล็กเสริมฐานราก (12:48)
- 18 - การเขียนโมเดลเหล็กเสริมคาน (9:04)
- 19 - การเขียนโมเดลเหล็กเสริมเสา (7:26)
- 20 - การเขียนโมเดลเหล็กเสริมพื้น (3:14)
- 21 - การเขียนโมเดลเหล็กเสริมบันได (17:16)
- 22 - การเขียนแบบขยาย (14:50)
- 23 - การจัดแบบ (11:46)
- 24 - การถอดปริมาณงาน (4:47)
- 25 - การ Plot แบบ (1:54)
- 26 - การส่งโมเดลจาก Revit ไป CAD (2:17)
- 27 - การส่งโมเดลจาก Revit ไป IFC (1:48)
- 28 - การส่งโมเดลจาก Revit ไป Sketchup (1:45)
- 29 - การส่งโมเดลจาก Revit ไป Robot (2:26)
- BONUS 1 - การเขียนสูตรหาน้ำหนักเหล็กเสริม (4:30)
- BONUS 2 - การใช้ Filter Rule เพื่อจำแนกสี (3:53)
- Workflow ในการทำงานระบบ BIM ด้วยเรวิท (2:20)
- 01 - แนะนำคลาสเรียน (1:16)
- 02 - การสมัคร Account และการติดตั้งโปรแกรม (9:43)
- 03 - แนะนำโปรแกรม (6:00)
- 04 - การเคลียร์แบบก่อสร้าง (2:07)
- 05 - การนำไฟล์ DXF เข้ามาทำงานต่อ (2:44)
- 06 - การกำหนดขนาดเหล็ก (4:12)
- 07 - การโมเดลเสา (10:29)
- 08 - การโมเดลคาน (3:38)
- 09 - การโมเดลโครงหลังคา (7:03)
- 10 - การโมเดลบันได (4:49)
- 11 - การโมเดลจุดต่อโครงสร้าง Connection (12:03)
- 12 - การถอดปริมาณวัสดุ (4:07)
- 02 - การสมัคร Account และการติดตั้งโปรแกรม (9:44)
- 03 - การตั้งค่าเบื้องต้น (2:29)
- 04 - การตั้งค่าที่จำเป็นสำหรับงานท่ออาคาร (9:59)
- 05 - การนำเข้า PDF ไฟล์เข้ามาในโปรเจค (1:48)
- 06 - การสร้างกริด (5:54)
- 07 - การสร้างระดับ (5:28)
- 08 - การ Link ไฟล์งานสถาปัตยกรรมเข้ามาเป็นไกด์ในการเขียนแนวท่อ (8:58)
- 09 - การวางสุขภัณฑ์ (3:25)
- 10 - การโมเดลท่อน้ำดี Cold Water (34:53)
- 05 - การเขียนระดับ (7:46)
- 11 - การโมเดลท่อน้ำโสโครก Soil (10:18)
- 12 - การโมเดลท่อน้ำทิ้ง Waste (22:54)
- 13 - การโมเดลท่ออากาศ Vent (6:52)
- 14 - การเช็ค Clash Detection (2:12)
- 15 - การถอดปริมาณงาน (3:19)
- 16 - การสร้างแบบโดยใช้คำสั่ง Sheet Schedule (3:19)
- 17 -การปริ้นแบบ (2:40)
- 18 - การส่งโมเดลไปโปรแกรม Sketchup (3:22)
- 19 - การส่งแบบก่อสร้างไปโปรแกรม Autocad (2:15)
- 00A - Workflow ในการทำงานระบบ BIM ด้วยเรวิท (2:20)
- 00B - ความสามารถของ REVIT+RECAP (4:30)
- 01 - แนะนำโปรแกรม (10:23)
- 02 - การสมัคร Autodesk Account และการติดตั้งโปรแกรม (9:44)
- 03 - การตั้งค่าเบื้องต้นก่อนใช้งาน (3:44)
- 07 - การสร้างพื้น (10:28)
- 04 - การเขียนกริดไลน์ (7:51)
- 06 - การ Link ไฟล์โครงสร้างเข้ามาในโปรเจค (2:55)
- 08 - การสร้างเสา (4:08)
- 09 - การสร้างผนัง (11:34)
- 10 - การสร้างบัว (9:36)
- 11 - การสร้างประตู (6:05)
- 12 - การสร้างหน้าต่าง (2:26)
- 13 - การสร้างฝ้าเพดาน (3:14)
- 14 - การสร้างบันได (2:17)
- 15 - การสร้างราวกันตก (3:06)
- 16 - การใช้ Component (29:55)
- 17 - การวาดพื้นดิน (3:24)
- 18 - การสร้างหลังคา (17:11)
- 19 - การวาดไม้เชิงชาย (11:37)
- 20 - การสร้างแบบขยาย (10:54)
- 21 - การสร้าง Sheet (25:54)
- 22 - การ Plot แบบ (1:50)
- 23 - การส่งโมเดลจาก Revit ไป CAD (1:43)
- 24 - การส่งโมเดลจาก Revit ไป IFC (2:27)
- 25 - การส่งโมเดลจาก Revit ไป Sketchup (1:31)
- 26 - การ Render (2:17)
- 27 - การถอดปริมาณงานสถาปัตย์ (4:37)
- BONUS 1 - การถอดปริมาณ (2:19)
- BONUS 2 - การบันทึกตารางถอดปริมาณ (1:19)
- BONUS 3 - การสร้างหน้าต่าง (11:05)
- BONUS 4 - การสร้างแฟมิลี่ประตู (13:44)
- BONUS 6 - การใช้เทคโนโลยี AR โลกเสมือนจริง (24:04)
- BONUS 7 - การใช้ Design Option (3:12)
- BONUS13 - การใช้ AI ช่วยในการเรนเดอร์งาน (4:51)
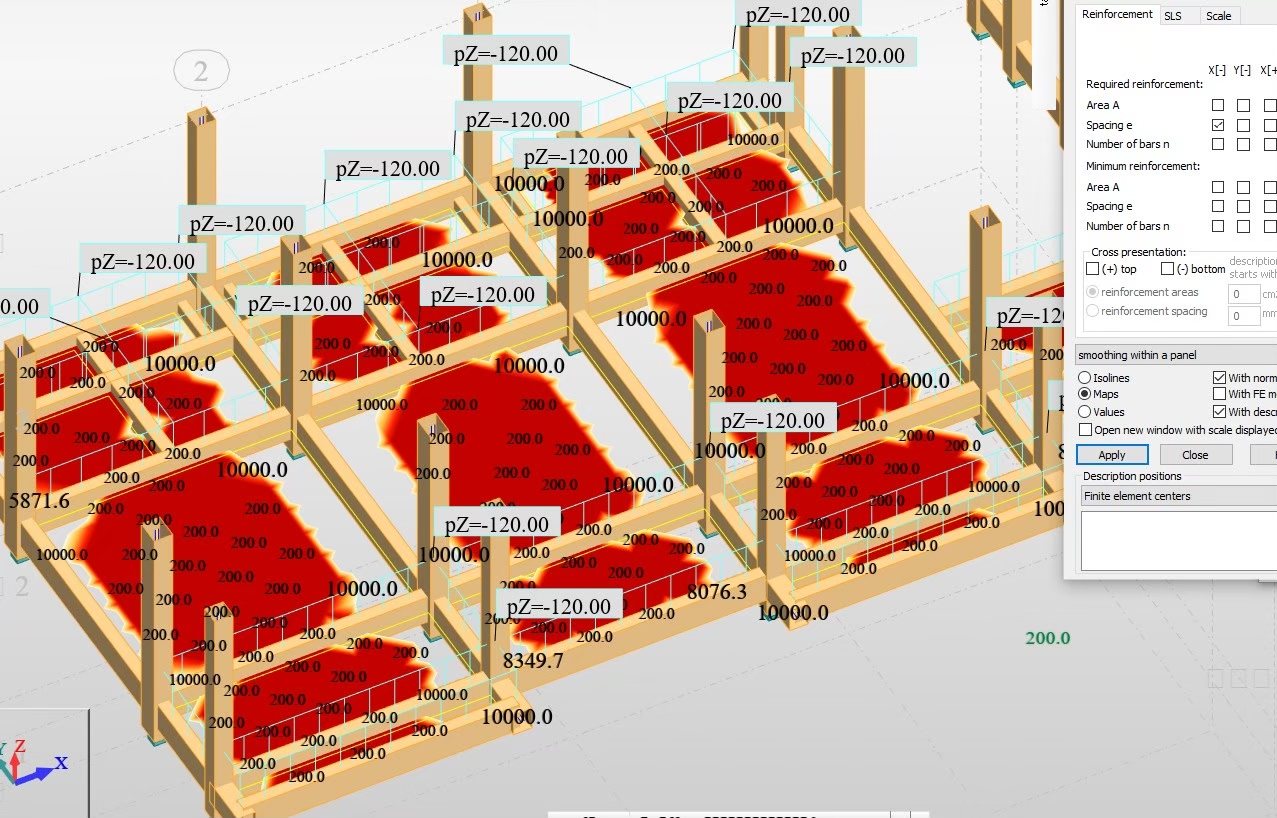
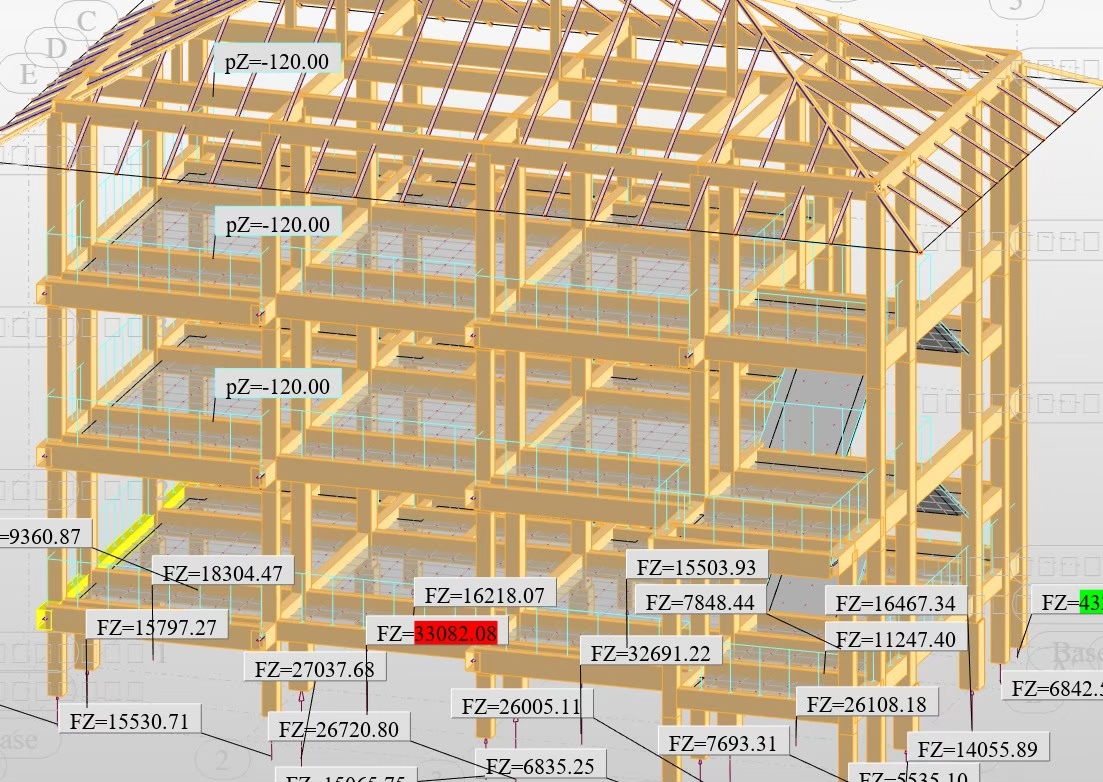
ตัวอย่างการทำงานร่วมกันระหว่าง REVIT และ ROBOT
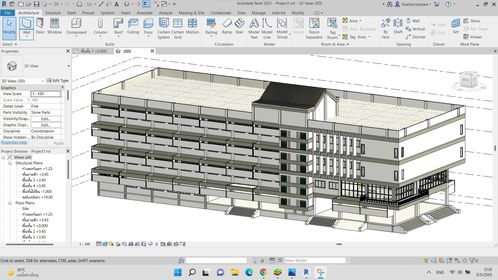
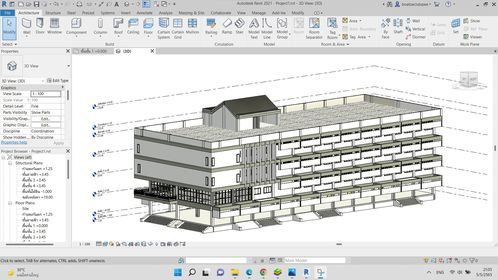
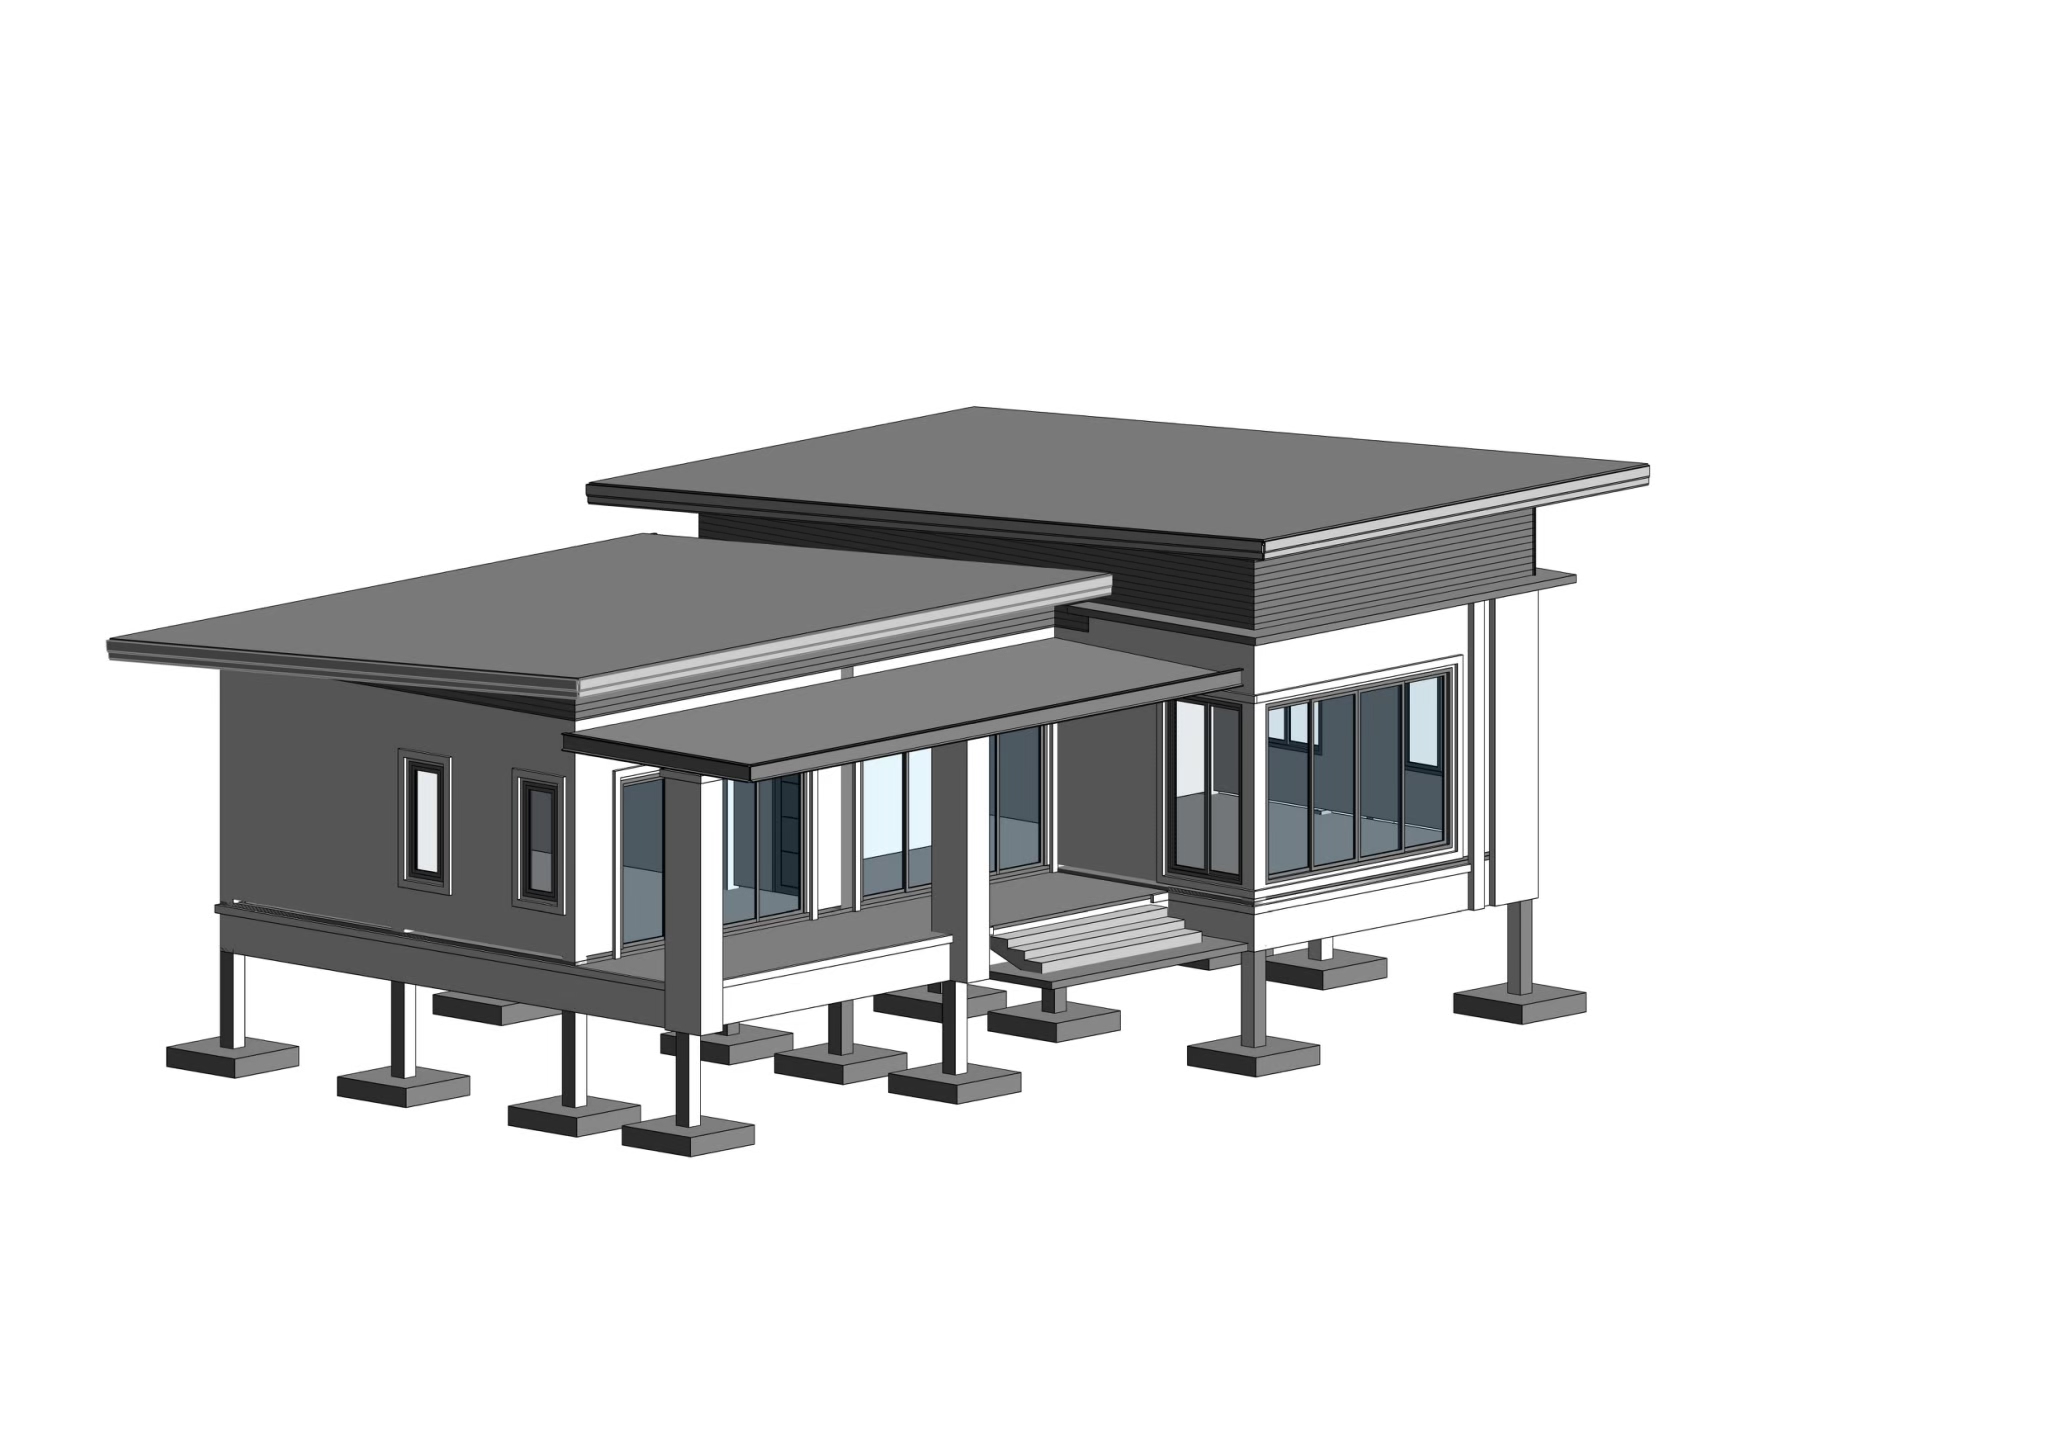
ผลงานนักเรียน
Example Title
Use this block to showcase testimonials, features, categories, or more. Each column has its own individual text field. You can also leave the text blank to have it display nothing and just showcase an image.
Example Title
Use this block to showcase testimonials, features, categories, or more. Each column has its own individual text field. You can also leave the text blank to have it display nothing and just showcase an image.
Example Title
Use this block to showcase testimonials, features, categories, or more. Each column has its own individual text field. You can also leave the text blank to have it display nothing and just showcase an image.
Example Title
Use this block to showcase testimonials, features, categories, or more. Each column has its own individual text field. You can also leave the text blank to have it display nothing and just showcase an image.
Example Title
Use this block to showcase testimonials, features, categories, or more. Each column has its own individual text field. You can also leave the text blank to have it display nothing and just showcase an image.
Example Title
Use this block to showcase testimonials, features, categories, or more. Each column has its own individual text field. You can also leave the text blank to have it display nothing and just showcase an image.
Example Title
Use this block to showcase testimonials, features, categories, or more. Each column has its own individual text field. You can also leave the text blank to have it display nothing and just showcase an image.
Example Title
Use this block to showcase testimonials, features, categories, or more. Each column has its own individual text field. You can also leave the text blank to have it display nothing and just showcase an image.
Example Title
Use this block to showcase testimonials, features, categories, or more. Each column has its own individual text field. You can also leave the text blank to have it display nothing and just showcase an image.
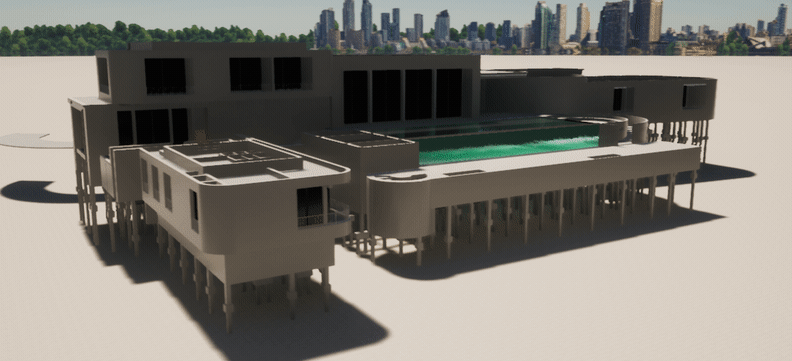
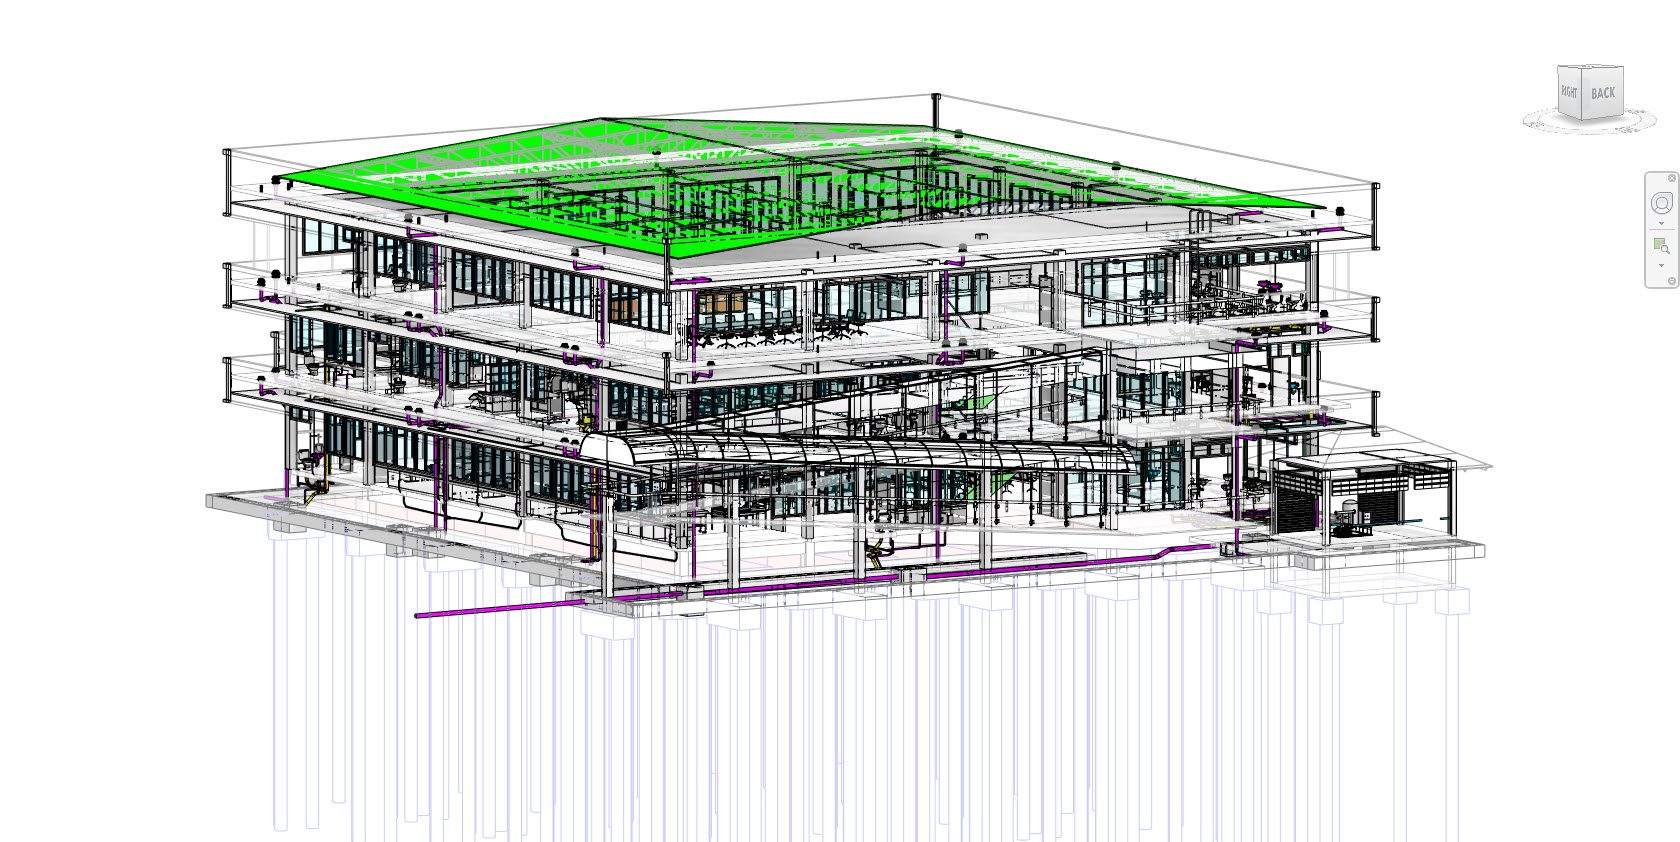
ตัวอย่างการนำไปประยุกต์ใช้
Example Title
Use this block to showcase testimonials, features, categories, or more. Each column has its own individual text field. You can also leave the text blank to have it display nothing and just showcase an image.
Example Title
Use this block to showcase testimonials, features, categories, or more. Each column has its own individual text field. You can also leave the text blank to have it display nothing and just showcase an image.
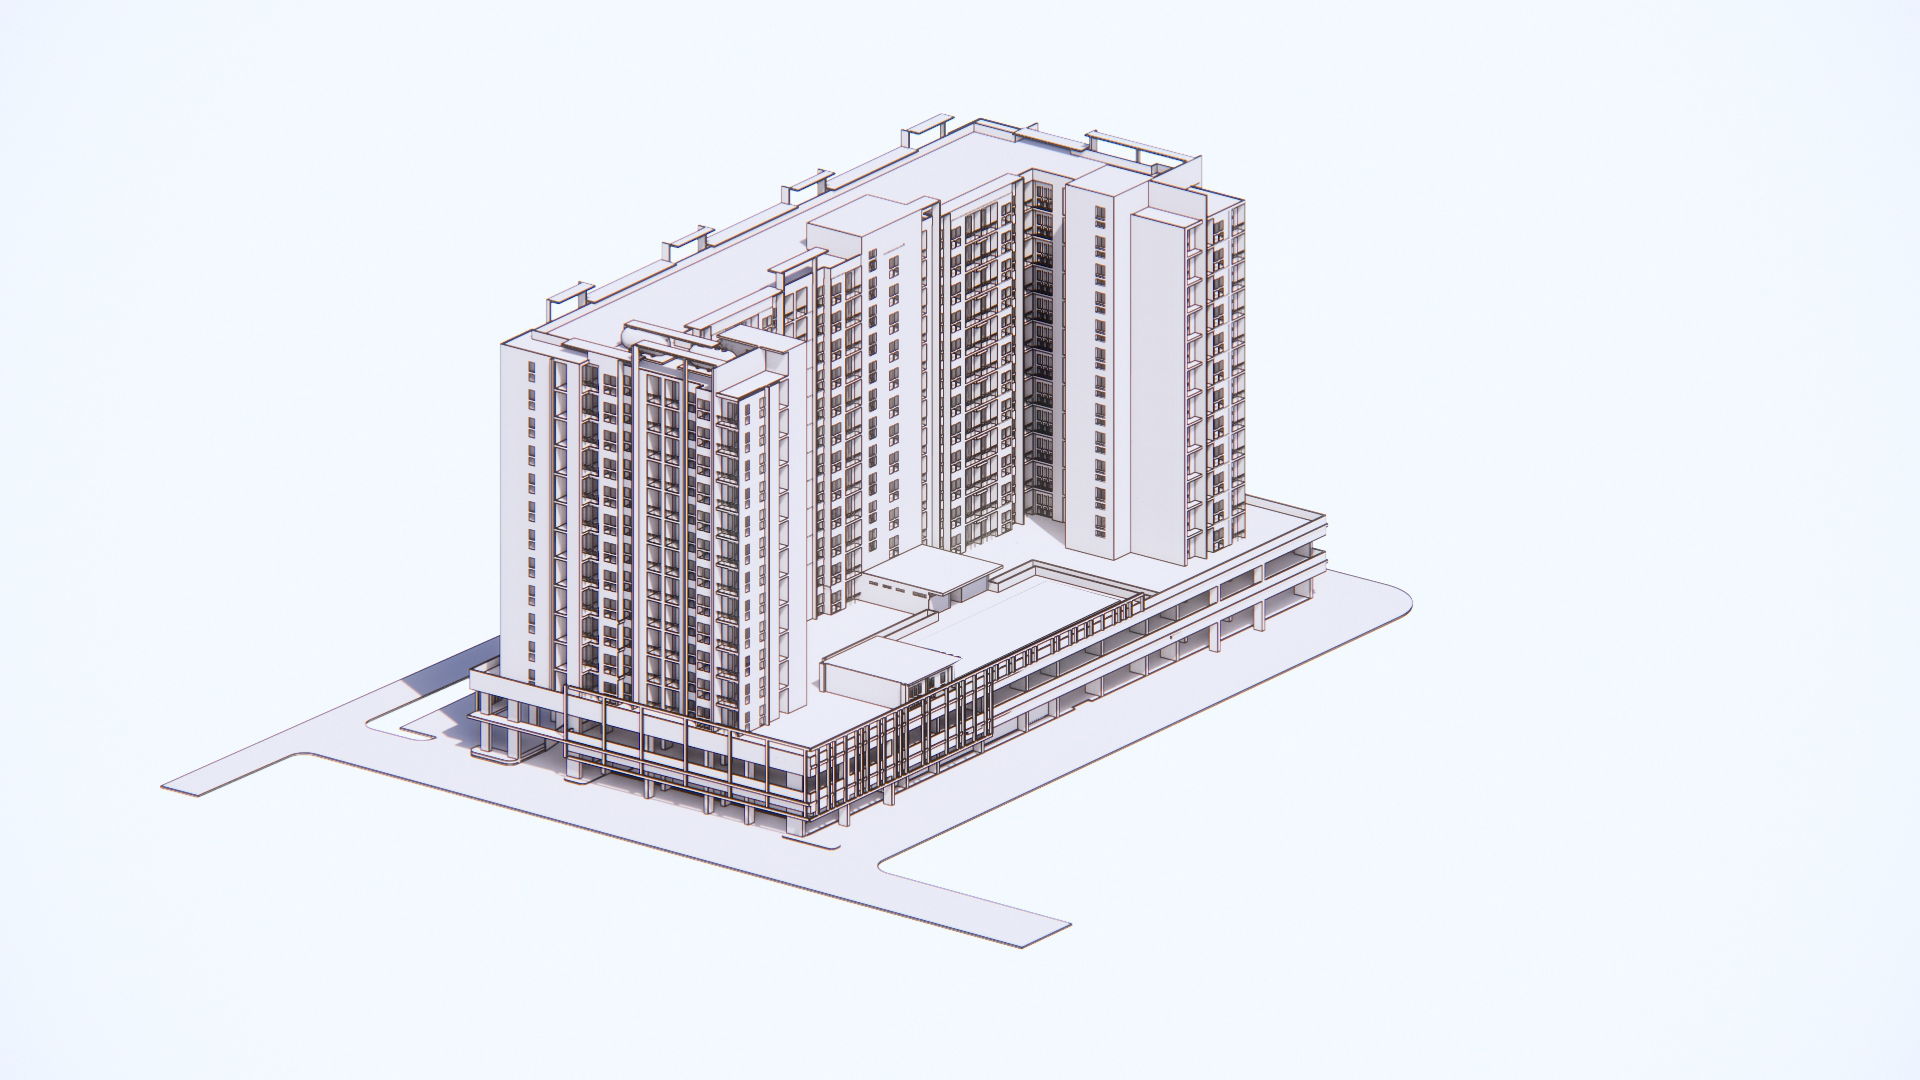
Example Title
Use this block to showcase testimonials, features, categories, or more. Each column has its own individual text field. You can also leave the text blank to have it display nothing and just showcase an image.
